One Room Has Weak WiFi and Smart Devices Fail There: Common Fixes
Quick Answer
If WiFi works well in most of your home but is consistently weak in one specific room, the most common cause is signal attenuation from walls and building materials. Dense materials (brick, concrete, plaster with metal lath, tile, mirrors, radiant-heat foil, and even large appliances) absorb or reflect radio waves, so the signal arriving in that room is too weak or too distorted for reliable smart-device connections.
Start by testing signal strength in that room on both 2.4GHz and 5GHz, then reposition the router or add a properly placed mesh node/access point to “go around” the walls rather than trying to “blast through” them. For smart devices, prefer 2.4GHz for range and wall penetration, and ensure your router settings (band steering, channel width, security mode, DHCP) aren’t making marginal signals fail more often.
Why This Happens
WiFi is radio. When radio waves pass through obstacles, they lose strength (attenuation) and can also bounce (reflection) and arrive out of phase (multipath). One room can become a “dead zone” if the path from the router to that room crosses more loss-heavy materials than the rest of the home, or if reflections create destructive interference at that location.
Walls are not equal. Drywall and wood framing typically reduce signal modestly. Brick, concrete, stone, and plaster can reduce it heavily. Materials that include metal are especially harsh: foil-backed insulation, metal studs, elevator shafts, ductwork, and even a large mirror can behave like a partial shield. Bathrooms and kitchens can be problematic because tile, plumbing, and appliances add both attenuation and reflections.
The WiFi band matters. 5GHz (and 6GHz, if you have it) generally provides higher throughput but shorter range and worse wall penetration. 2.4GHz travels farther and tends to survive walls better, but it’s more crowded and prone to interference from neighboring networks and devices like microwaves and some Bluetooth activity. Smart devices often have small antennas and low-power radios, so they fail first when the signal is marginal.
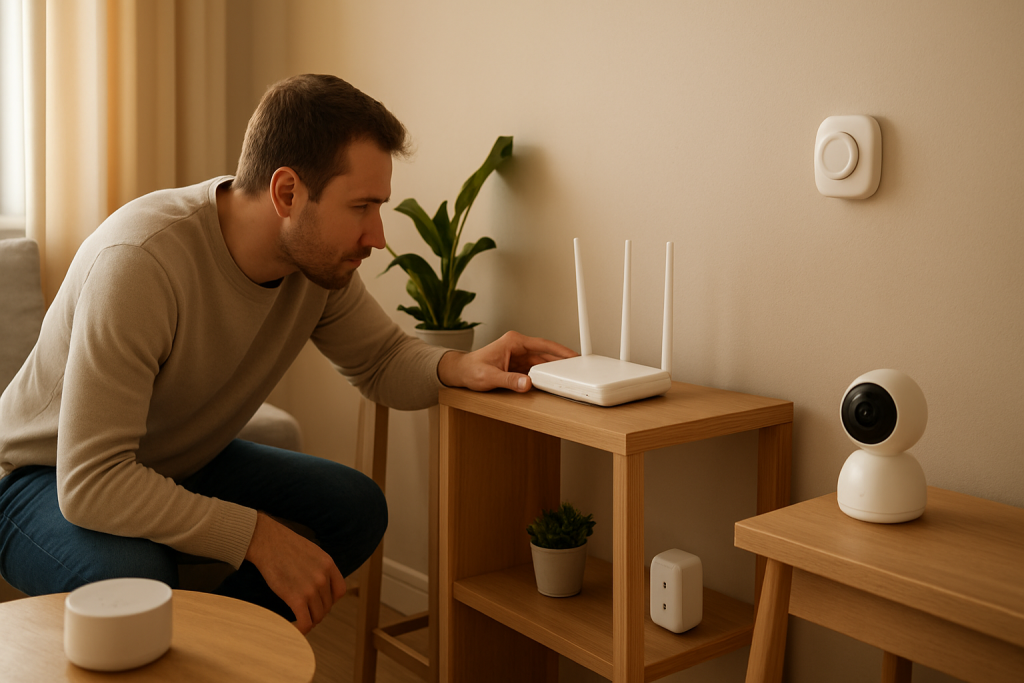
A real-world scenario: in an apartment with thick concrete or brick demising walls, the ISP modem-router combo is often placed near the cable/fiber entry point (living room). The bedroom on the far side may be separated by a concrete support column and a tiled bathroom. Your phone might still load web pages (because it can retry and uses a better antenna), but a smart lock, camera, or thermostat in that bedroom may disconnect repeatedly or fail to pair.
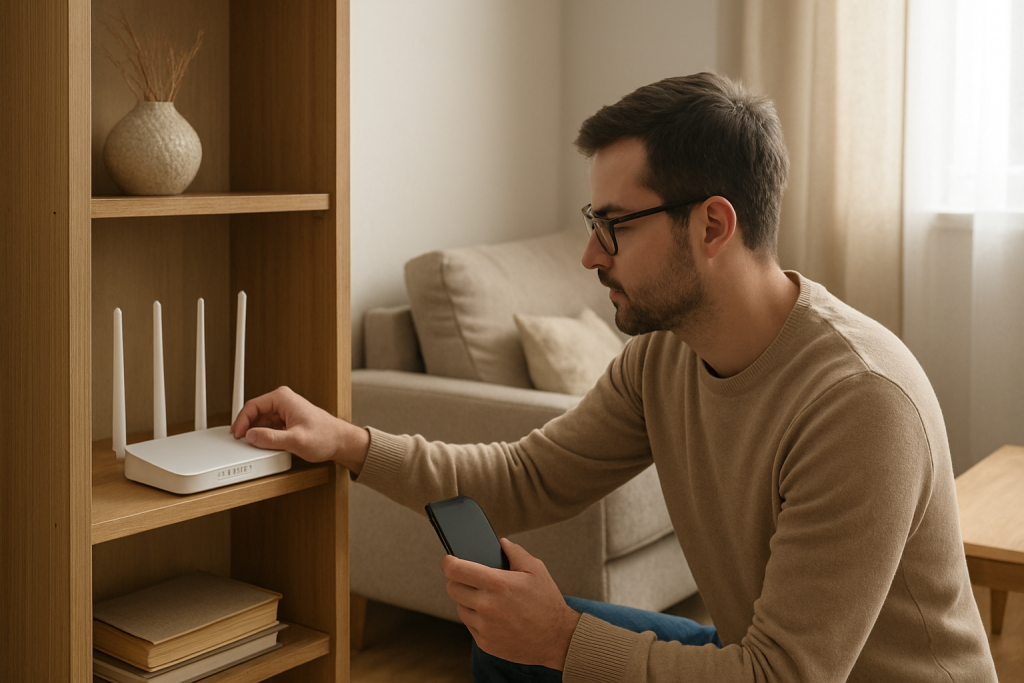
A common user mistake is assuming “more bars” on a phone equals a stable smart-device connection. Phones hide retries and can switch bands aggressively. Many smart devices are 2.4GHz-only and won’t follow the same roaming or band decisions your phone makes. Another mistake is placing the router inside a cabinet or behind a TV, which forces the signal to fight through extra material before it even reaches the hallway.
An overlooked technical cause is router band steering or “Smart Connect” pushing clients to 5GHz when 2.4GHz would be more reliable through walls. Also overlooked: channel width set too wide (especially 2.4GHz at 40MHz) can increase interference and reduce stability, making a weak-room problem feel worse than it is.
Step-by-Step Fix
Confirm it’s a location problem, not a device problem. Take a phone or laptop into the weak room and run a quick test: open a speed test and also try a continuous ping (if available) to your router or a reliable site. Note whether the connection drops, latency spikes, or speeds fluctuate heavily. If only one smart device fails but your phone is fine, skip ahead to the device and DHCP checks in later sections.
Compare 2.4GHz vs 5GHz in that room. If your router uses one WiFi name for both bands, temporarily split the SSIDs (for example, “Home-2.4” and “Home-5”) or use your router’s client list to see which band your phone is on. In the weak room, 5GHz often shows higher speed when it works, but it may drop more. If 2.4GHz is noticeably steadier, plan to connect smart devices to 2.4GHz and reserve 5GHz for nearby high-speed devices.
Reposition the router to reduce wall loss. The goal is to reduce the number and “density” of walls between the router and the problem room. Move the router higher (shelf height or above), away from metal objects, and closer to the center of the home if possible. Avoid placing it: inside cabinets, behind a TV, on the floor, next to a microwave, or directly against a concrete/brick wall. Even a 6–10 foot move can change the path enough to bypass a high-loss wall.
Adjust router antennas and orientation (if present). For routers with external antennas, try a mixed orientation: one vertical, one at a 45-degree angle, one horizontal (if you have three). This helps cover devices held at different angles and can improve performance after reflections in wall-heavy layouts.
Set smart-device-friendly WiFi settings. In your router WiFi settings, use WPA2-Personal (AES) or WPA2/WPA3 mixed if your devices support it; avoid WPA3-only if older smart devices fail to join. For 2.4GHz, set channel width to 20MHz for stability. If your router is on “Auto,” it may choose crowded channels; try manually setting 2.4GHz to channel 1, 6, or 11 (pick the least congested based on a WiFi analyzer app). These changes don’t “punch through” walls, but they reduce retries and disconnects when the signal is already weak.
Disable or tune band steering if devices keep falling off. If “Smart Connect,” “Band Steering,” or “Auto-Optimize” is enabled, a device near the edge of coverage may be pushed to 5GHz and then fail. If your smart devices are in the weak room, either disable steering or create a dedicated 2.4GHz SSID for IoT devices so they don’t get nudged onto a less reliable band.
Add coverage the right way: mesh node or wired access point placed before the bad wall. If attenuation is the root cause, the best fix is to shorten the radio path. Place a mesh node in the hallway outside the weak room (or in the adjacent room that still has good signal), not inside the dead zone. Better yet, if you can run Ethernet (or have MoCA coax adapters), add a wired access point closer to the weak room for a strong, clean signal. The placement goal is to “turn the corner” around the high-loss wall rather than trying to transmit through it.
Re-pair or reconnect smart devices after changes. Many smart devices cache network parameters. After you change SSIDs, security modes, or add a new node, power-cycle the device and re-run its setup. If the device supports it, “forget” the old network in the companion app and re-add it to ensure it grabs the best access point and correct band.
Advanced Troubleshooting
If the room still has weak WiFi after basic repositioning and adding coverage, treat it as a combination of attenuation plus one or more stability issues that become obvious only at low signal levels.
Use a practical testing method: walk-test for signal and stability
Stand near the router and note your phone’s WiFi band and signal indicator. Then walk slowly toward the problem room while streaming a video or running a continuous ping. If the stream buffers or ping spikes at a specific doorway or wall, that boundary is likely the high-loss barrier. This helps you choose where to place a mesh node: it should sit just before the point where performance collapses.
Check for interference that compounds wall loss
In a weak room, interference matters more because the signal-to-noise ratio is already poor. Common sources include neighboring apartment WiFi on 2.4GHz, a microwave (often near kitchens), cordless phone bases, baby monitors, and dense Bluetooth activity. If the weak room is near a kitchen, test when the microwave is running; if dropouts correlate, move the router farther from the kitchen or favor 5GHz for phones while keeping IoT on a clean 2.4GHz channel.
Look for router configuration issues that hurt edge-of-coverage devices
Some settings are fine for strong-signal areas but cause failures in a weak room:
2.4GHz channel width at 40MHz: increases overlap and interference; switch to 20MHz.
Minimum data rate / airtime fairness: can kick off slower clients; disable airtime fairness temporarily to test if IoT devices stabilize.
Transmit power: “High” is not always best in apartments; excessive power can increase interference and cause sticky roaming. Try “Medium” if your environment is crowded, but prioritize better node placement over power tweaks.
Firmware/software causes: update and then reboot in the right order
Outdated router firmware can cause roaming bugs, DHCP issues, and compatibility problems with WPA3 or band steering. Update router/mesh firmware, then reboot the network in order: modem (if separate) first, then router, then mesh nodes, then smart devices. Also update the smart device firmware via its app when possible; some devices fix WiFi stability and reconnection logic through firmware updates.
DHCP and IP conflicts (simple explanation and what to do)
DHCP is the router feature that hands out local IP addresses to devices. If two devices end up with the same address (an IP conflict) or if the DHCP pool is too small, devices may appear “connected” but fail to communicate—often noticed first in the far room because reconnects are more frequent there. Fixes:
Ensure DHCP is enabled on only one router (avoid double-router setups where the ISP modem-router combo and your own router both hand out addresses). Increase the DHCP pool size if you have many devices. If a specific smart device is flaky, reserve an IP for it in the router (DHCP reservation) so it always gets the same address.
ISP modem-router combo pitfalls
If you use an ISP gateway plus a second router, you may have double NAT and competing WiFi networks. A common mistake is leaving WiFi enabled on both devices with similar names, causing devices to latch onto the weaker one through a wall. If you add your own mesh system, put the ISP gateway into bridge mode (if supported) or disable its WiFi, then let one system manage WiFi and DHCP.
When to Reset or Replace the Device
Reset or replace is appropriate when the network is proven stable in that room (strong signal from a nearby node/access point) but the device still fails more than others.
Reset the smart device if it won’t complete setup, repeatedly asks for the WiFi password, or stays offline after you’ve corrected SSID/band settings. Perform a factory reset, then re-add it while standing in the same room as the nearest access point (or temporarily bring the device closer if it’s portable).
Consider replacement if the device only supports legacy security modes, has known WiFi chipset issues, or consistently drops even at strong signal levels. Also replace if it is 2.4GHz-only and your environment is extremely congested and you cannot find a clean 2.4GHz channel; in some cases, a newer device with better radio performance or Ethernet capability is the most reliable path.
How to Prevent This in the Future
Plan WiFi around walls, not around where the internet cable enters the home. If you move or upgrade equipment, prioritize a central router location or a mesh layout that places nodes in open areas and hallways rather than behind dense materials.
Keep IoT devices on a stable 2.4GHz network with conservative settings (20MHz width, WPA2/WPA3 mixed if needed, and band steering tuned or disabled for IoT). Use a dedicated IoT SSID if your router supports it, and avoid frequent SSID/password changes that force devices to rejoin.
Maintain firmware: update the router/mesh quarterly (or enable auto-updates if you trust the vendor) and update smart devices when the app offers it. Periodically review your router client list for unknown devices and for IP conflicts, and ensure DHCP is managed by only one device on the network.
When adding new smart devices in a wall-heavy home (older plaster walls, brick, or concrete), test placement before final mounting. Pair the device in its intended location and verify it stays online for a day. If it’s borderline, add a node outside the room first rather than hoping it will “settle in.”
FAQ
Should I use 2.4GHz or 5GHz for smart devices in the weak room?
Use 2.4GHz in most cases. It penetrates walls better and usually maintains a connection at lower signal levels. Use 5GHz only if the device supports it and you have a nearby access point/node with strong signal in or near that room.
Why does my phone work in that room but my smart plug/camera fails?
Phones typically have better antennas, higher transmit power, and more aggressive retry/roaming behavior. Many smart devices have small radios and are 2.4GHz-only, so when walls attenuate the signal, they hit the failure threshold sooner even though your phone seems “fine.”
Will a WiFi extender fix a room blocked by thick walls?
It can, but only if placed correctly. Put the extender where the signal is still good (often in the hallway outside the room), so it can receive a clean connection and then rebroadcast. If you place it inside the dead zone, it will just repeat a weak, noisy signal. A wired access point or well-placed mesh node is usually more reliable than a basic extender.
What router setting most commonly breaks smart devices after I “optimize” WiFi?
Band steering and security mode changes are frequent culprits. Band steering can push devices to 5GHz where wall attenuation is worse, and WPA3-only can prevent older IoT devices from joining. Also watch 2.4GHz channel width set to 40MHz, which can increase interference and instability.
Can IP address problems really make only one room’s devices fail?
Yes, indirectly. Devices in the weak room reconnect more often due to low signal, so they trigger DHCP requests more frequently. If your network has an IP conflict, a too-small DHCP pool, or two routers handing out addresses, the weak-room devices may appear to fail “because of the room” when the root issue is address assignment during reconnects.
What’s striking is how quickly the noise fades once the shape of the problem is clear. The moment is less dramatic than it sounds, more like realizing you’ve been stepping around the same puddle for weeks.
Now the pages feel steadier—like the world has finally agreed to line up for a change. Not perfect, not flashy, just plainly workable, and that’s a relief in its own quiet way.